Enjoy fresh flowers at discounted prices!
Folding a Paper Flower | More Than Just a Craft
This blog post explores the timeless and rewarding craft of creating paper flowers, offering a unique way to enjoy floral beauty without the upkeep. It provides a simple, step-by-step guide for making a beautiful 8-petal paper flower, perfect for beginners. The post aims to inspire readers to find peace and joy in this art form, using just paper and a little patience to create lasting floral art.
9/10/20256 min read
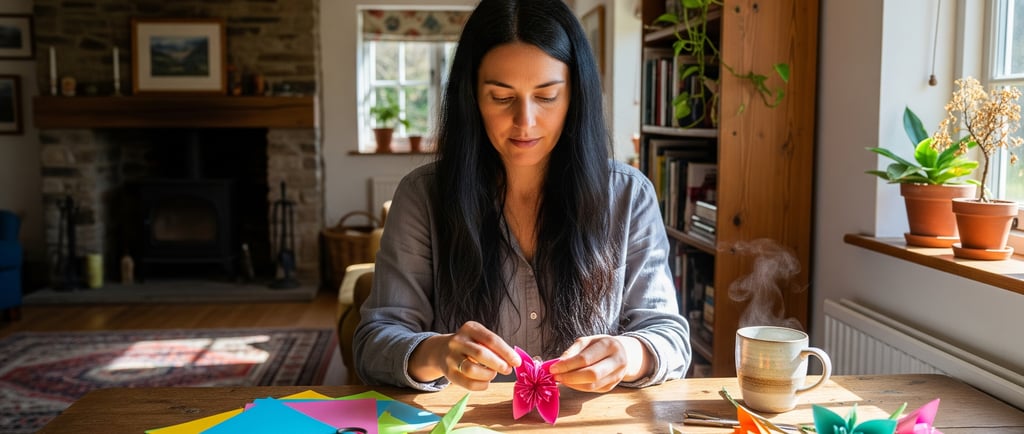
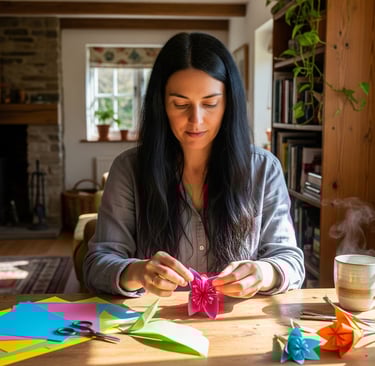
You know what? There’s just something about a flower. The way a tiny seed sprouts into a magnificent blossom, each petal unfolding with a kind of quiet grace. It’s pure magic. But honestly, sometimes, you want that feeling without the constant watering, the fleeting lifespan, or the hefty price tag. That’s where the quiet, understated art of folding paper flowers comes in.
This isn't just about making something pretty; it's a way to capture that little burst of happiness, to hold a bit of spring in your hands no matter the season. If you're someone who loves the simple elegance of a bouquet or finds peace in a creative afternoon, this one’s for you. It's an open invitation, a friendly little nudge to get your hands busy and your mind calm. We’re not talking about anything complicated here, just a piece of paper and a little bit of patience. And trust me, the payoff is so worth it.
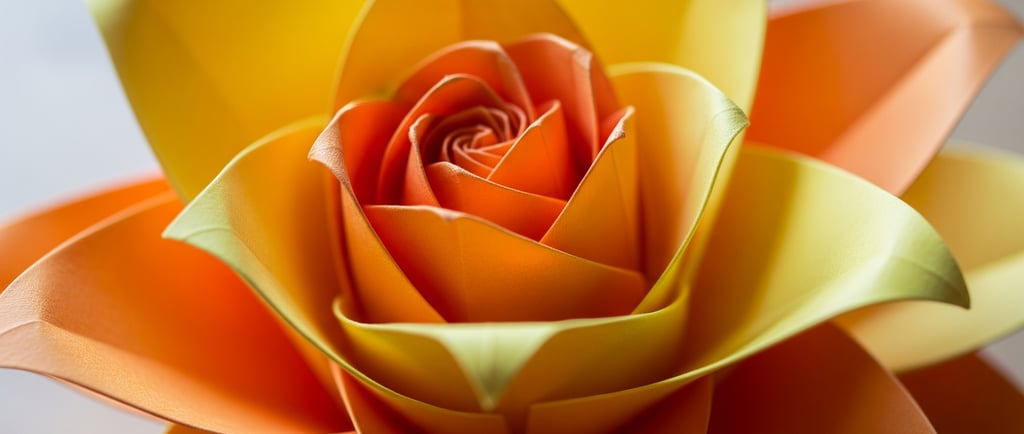
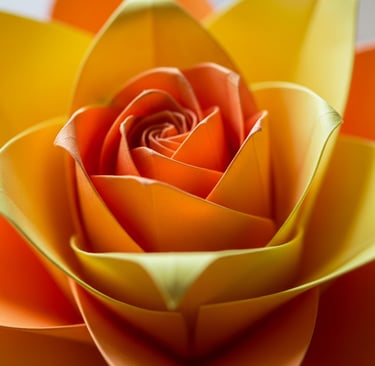
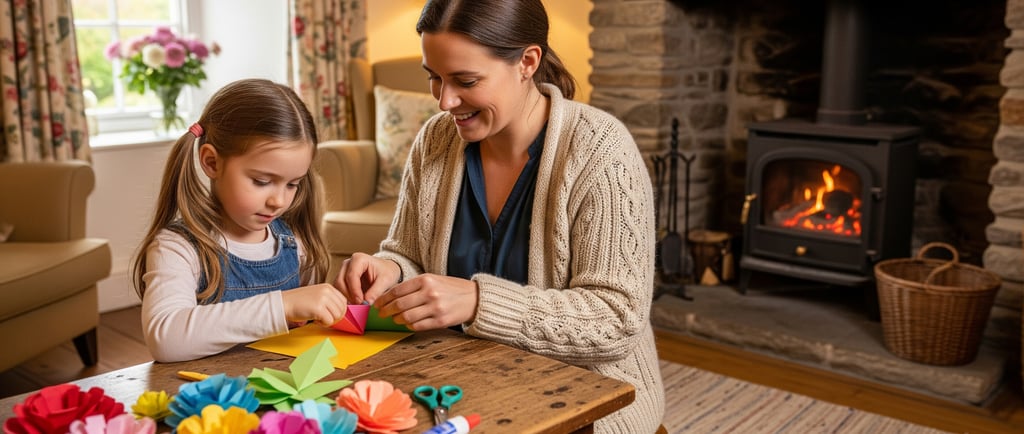
Have you ever looked at a perfectly-folded origami creation and wondered, "How on earth did they do that?" Here’s the thing: it’s not about being a paper wizard. It's about following a few simple steps and embracing the little imperfections that make your creation uniquely yours. We're going to walk through how to create a stunning 8-petal paper flower, the kind that looks incredibly sophisticated but is surprisingly simple to make. It’s perfect for adding a personal touch to a gift, a scrapbook, or even just brightening up your desk.
So, What Do You Need to Get Started? (Spoiler: Not Much!)
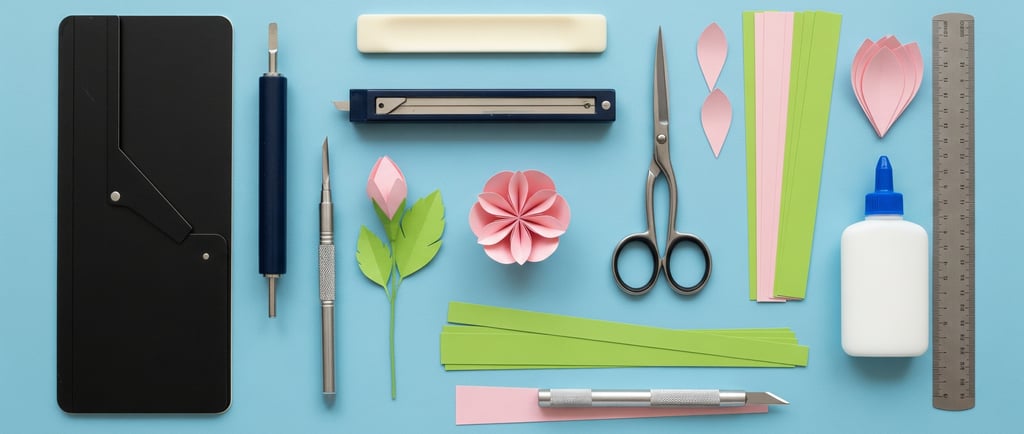
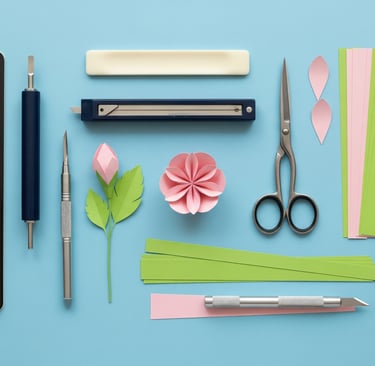
Honestly, one of the best parts of this paper flower tutorial is how little you need. You probably have everything sitting around your house right now. You’re not going to need any special tools or fancy gadgets, just a few basic items to get the ball rolling.
Paper: Think lightweight. Origami paper is fantastic because it's already a perfect square, but don’t feel limited. You can absolutely use standard printer paper, colored cardstock, or even something with a lovely pattern. You’re the artist here, so use whatever speaks to you!
A trusty pair of scissors: The sharper, the better, especially for getting clean edges.
Glue: A simple craft glue stick or a little bottle of school glue works perfectly.
Something for the center (optional but encouraged!): A small paper circle, a button, a little pompom, or even a shiny gem. This is where you can add that extra bit of personality.
I find that using thin paper, like that found in magazines or old notebooks, can be a great way to start. It’s easier to fold and gives you a feel for the process before you commit to more expensive craft supplies. This whole thing is supposed to be fun, not a high-pressure art project, right?
The Magic of the Fold: A Step-by-Step Guide to Your First 8-Petal Paper Flower
Making a flower with 8 petals feels like a classic origami challenge, but the secret is in the symmetry. It's a bit like making a paper snowflake; the magic happens when you unfold it at the very end. The method we're going to use is called a "fold and cut" technique. It’s a great entry point into the world of paper craft flowers because it's so satisfyingly simple.
Start with a Square. Whether you're using pre-cut origami paper or cutting a square from a rectangular sheet, this is the foundational step. The key is to make sure your square is as precise as possible. It helps everything else line up beautifully.
Fold it into a Triangle. Take your square and fold it diagonally in half. You'll end up with a big, bold triangle. Smooth down that crease, making it nice and crisp.
Fold, Fold Again. Now, take that triangle and fold it in half once more to create a smaller triangle. Then, for the final fold, fold it in half one last time. You'll be left with a very small, very dense triangle. It might feel a bit thick, especially if you're using a heavier paper, but that's perfectly normal.
Position and Prepare to Cut. This is arguably the most crucial step. Rotate your small triangle so the long side is facing up and the point that corresponds to the center of your original square is at the bottom. This is where you'll be making your cut.
The Petal Cut. Okay, here’s where you become a sculptor. Hold the triangle firmly. With your scissors, make one curved cut from the top of the vertical side, swooping down and around towards the bottom. This single cut determines the shape of all eight petals. You can go for a wide arc for broad petals or a shallow arc for pointy ones. This is your chance to get creative and experiment! The cut needs to go through all the layers of the folded paper.
Unfold and Marvel. The moment of truth! Carefully, slowly, unfold your paper. First one layer, then the next, until you reveal a stunning, perfectly symmetrical 8-petal paper flower. It’s pretty incredible to see how a few folds and a single cut can create something so delicate.
Once it's unfolded: Flatten it out, or you can gently cup the petals to give the flower a little bit of dimension. A dab of glue on the back of the small center circle you cut out is all you need to finish it off and give it that final, polished look.
FAQs on Folding Paper Flowers
Q: Can I use regular paper instead of origami paper?
A: Absolutely! The beauty of this craft is its accessibility. While origami paper is fantastic because it's thin and comes in a perfect square, any lightweight paper will work. Just make sure you can fold it cleanly without too much bulk.
Q: My petals aren't perfectly shaped. What did I do wrong?
A: Nothing at all! In fact, those subtle variations are what give your handmade flowers character. The goal isn't machine-like perfection; it's about embracing the unique, spontaneous nature of a DIY paper flower. So don't worry—a slightly asymmetrical petal just means it's one-of-a-kind.
Q: How do I make my flowers look more realistic?
A: The secret is in the details. After you unfold the flower, you can gently curl the petals over a pencil or marker to give them a natural curve. Layering two flowers of different colors or sizes on top of each other with a small dab of glue can also create a beautiful, layered look.
Q: I want to make a different number of petals. Is that possible?
A: Yep, you sure can! The folding technique changes depending on the number of petals you want. For example, a 6-petal flower requires you to divide your triangle into three equal sections instead of folding it in half multiple times. The search for a new tutorial is part of the fun!
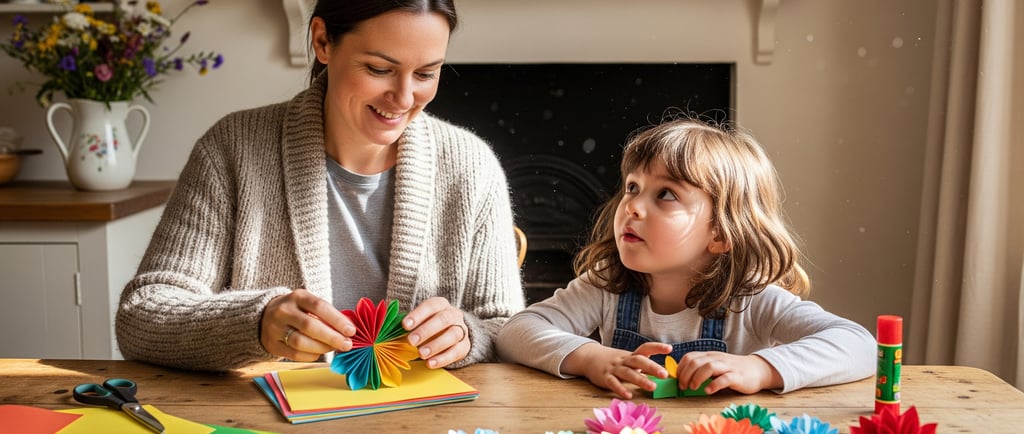
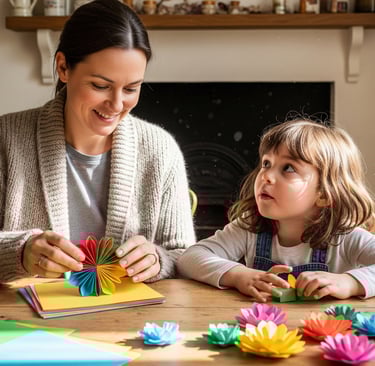
Beyond the Basics: Taking Your Paper Flower Art to the Next Level
Once you get the hang of this paper folding tutorial, a whole new world of creative possibilities opens up. Think about all the ways you could use these little beauties. Maybe you're looking for a simple, heartfelt gift. A handmade card with a paper flower glued to the front is so much more meaningful than a store-bought one. Or, if you’re a planner, these could be great for sprucing up your journal pages.
And what about home decor? You could create a stunning paper flower wreath for your door or string a few together to make a whimsical garland for a party. A simple paper craft idea can turn into a whole weekend project, and before you know it, you have a beautiful bouquet that will never wilt.
The best part? You don't have to be a professional crafter. This is a journey of discovery, a way to play and experiment. You can try different textures of paper, use patterned scrapbook sheets, or even get into a little bit of mixed media by adding glitter or painted details. Honestly, the only limit is your imagination. This easy paper flower is just the beginning.
It's a way to send flowers that last forever—not in a sad, pressed-in-a-book kind of way, but in a vibrant, joyful creation that you’ve made yourself. It’s an act of care, a little bit of magic, and a whole lot of fun, all wrapped up in a simple square of paper.
Delivery
Fresh flowers delivered across Dubai, fast service.
Quality
Service
+971-55-552-1555
© 2024. All rights reserved.